>

7 Tips for Buying Joint Stabilization Devices

The source articles were not included, so I can’t reliably attribute a quotation to a real joint stabilization devices expert. Please provide an article or a verified expert quote, and I can write the introduction around it.

7 Tips for Buying Joint Stabilization Devices

Identify the Joint and Instability: WHO Estimates 1.71 Billion People Have MSDs

Before choosing a stabilizer, identify the joint and what feels unstable. A knee that buckles on stairs differs from a wrist that aches while lifting a pan. Pain alone does not prove instability. Note when it occurs, whether swelling appears, and which movements trigger it. Small details matter.

The World Health Organization estimates that 1.71 billion people worldwide live with musculoskeletal conditions. Its 2022 musculoskeletal health fact sheet identifies low back pain as the most common condition, affecting about 568 million people in 2019. These figures describe a vast range of problems, not a reason for everyone to wear a brace.

A clinician can assess joint movement, injury history, and strength before recommending support. That distinction is easy to overlook. A device that feels secure may still restrict useful movement or fit the wrong joint.

Bring observations to an appointment: when the joint gives way, how often it happens, and what activity preceded it. WHO, “Musculoskeletal health,” 2022.

Compare Flexible, Semi-Rigid, and Rigid Support for the Intended Activity

7 Tips for Buying Joint Stabilization Devices
Compare Flexible, Semi-Rigid, and Rigid Support for the Intended Activity

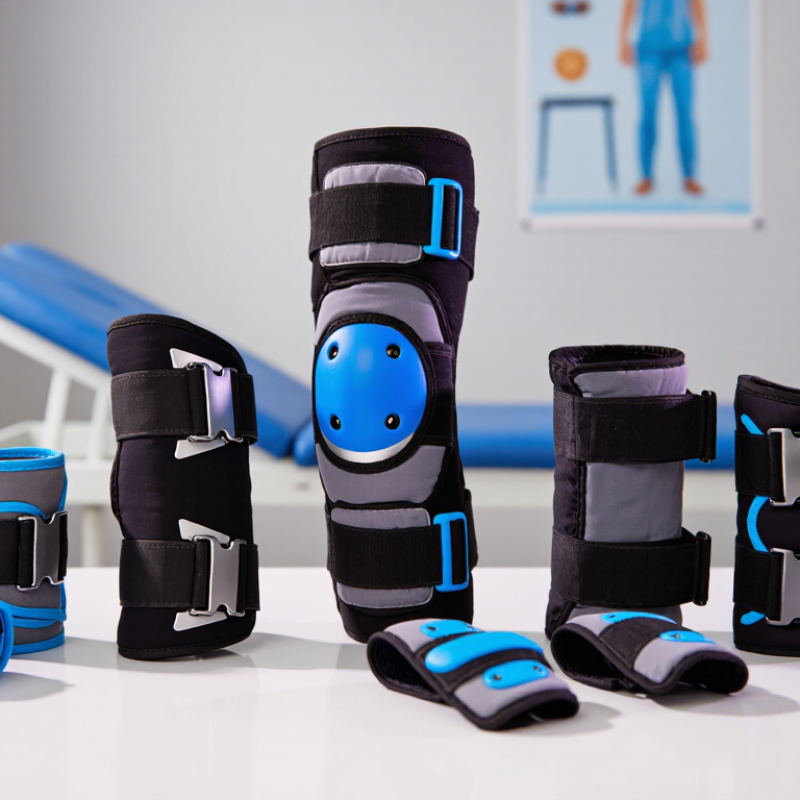
Choose a stabilizer for the movement you need to control, not just its appearance. Flexible sleeves provide compression and warmth while allowing broad motion. They may suit walking or low-impact exercise, but offer little resistance to twisting. Semi-rigid braces use straps or side supports to limit certain movements while allowing bending. They can work for court sports or uneven trails. Rigid braces restrict motion more substantially and may be appropriate after an injury or surgery when recommended by a clinician. They can also make quick direction changes harder.

A 2011 study in the American Journal of Sports Medicine tracked 1,460 high-school basketball players. Lace-up ankle braces were associated with a 68% lower rate of acute ankle injuries. That is useful evidence for activity-specific ankle support, not proof that every brace prevents every joint injury. The findings may not apply to other sports, everyday use, or different conditions. Evidence has limits.

Tip: Try the brace while walking, squatting, and changing direction. Choosing by feel alone is an easy mistake; snugness does not prove protection. Check for rubbing, numbness, or skin color changes. For post-injury or post-surgical use, ask a qualified clinician about the right support and fit.

7 Tips for Buying Joint Stabilization Devices - Compare Flexible, Semi-Rigid, and Rigid Support for the Intended Activity

Buying tip Flexible support Semi-rigid support Rigid support
1. Match support to the activity Often suits activities needing a broad range of motion, such as walking or light exercise, when only light compression or proprioceptive feedback is wanted. Can suit activities that need some movement with added control, such as selected recreational or work tasks, depending on the joint and device design. Restricts motion substantially; generally intended for specific protection or immobilization needs rather than unrestricted sport or exercise.
2. Check how motion is controlled Usually uses elastic fabric or a sleeve and provides little mechanical limitation of joint movement. May use hinges, straps, stays, or molded components to limit selected movements while allowing others. Uses a firm shell, splint, or brace structure to hold a joint in a more restricted position.
3. Consider fit and adjustability Look for a close, even fit without bunching or rolling; sizing is commonly based on measurements of the limb or joint. Check that straps and any hinges align with the joint and can be adjusted securely without excessive pressure. Fit and positioning are especially important. Some rigid devices require professional fitting or adjustment.
4. Think about comfort and wear time Lightweight fabric may be easier to wear under clothing, but warmth, moisture, seams, and skin sensitivity still matter. Added hardware can create pressure points or bulk; check comfort through the range of movement allowed by the device. Can be heavier or more cumbersome and may affect clothing, footwear, or daily tasks. Follow instructions on when and how long to wear it.
5. Match the material to the setting For active use, consider breathable, washable fabric and care instructions, especially if the device will be worn during exercise. Check whether the material and components tolerate expected use, perspiration, and cleaning; inspect straps and hinges regularly. Confirm cleaning and maintenance instructions. Keep the device and the skin beneath it clean and dry as directed.
6. Check safety and warning signs The device should feel supportive, not painfully tight. Remove it and reassess the fit if numbness, tingling, skin irritation, or worsening pain occurs. Make sure straps do not impair circulation and that hinges or stays do not dig into the skin during permitted movement. Use only as directed, particularly after injury or surgery. Seek professional advice for new pain, swelling, skin changes, or changes in sensation.
7. Choose based on the reason for use May be considered for light support or compression when substantial motion restriction is not required. May be appropriate when a clinician or product guidance calls for controlled support with some movement preserved. May be prescribed when a joint needs greater motion restriction, including some injury or post-operative situations. Ask a qualified healthcare professional which type is appropriate.

Note: Support needs vary by joint, condition, and activity. A brace does not diagnose or treat an injury by itself; follow product instructions and seek advice from a qualified healthcare professional when support is needed after an injury or surgery.

Measure the Joint and Match It to the Manufacturer’s Sizing Range

A joint support device can only do its job comfortably if it fits the person wearing it. Use a soft measuring tape, and follow the measurement points shown in the sizing guide. For a knee support, this may mean measuring around the kneecap or at specified distances above and below it. Keep the tape close to the skin, but do not pull it tight. Measure the joint in the position the manufacturer recommends; a bent knee can give a different reading from a straight one. Small details matter. Write down the number and its unit, then compare it with the stated sizing range. Do not guess.

If your measurement falls between two sizes, check the device’s fit instructions rather than automatically choosing the larger or smaller option. Some designs rely on a close fit; others allow adjustment with straps. The description should explain this. It is easy to rush the measuring step, especially when a joint feels sore, but a quick estimate can lead to slipping, pinching, or limited comfort. Recheck the measurement once, ideally with another person’s help. If swelling changes during the day, or the chart remains unclear, ask a qualified healthcare professional for guidance before choosing. A size chart is useful, but it cannot assess your individual needs.

Check Orthosis Safety and Performance Against ISO 22523:2006

Ask which requirements in ISO 22523:2006 apply to the specific joint orthosis; design and intended use matter. Request a test report or conformity statement that names the exact model and configuration. Check who assessed it and when. A logo is not enough. Confirm that the evidence covers relevant materials, construction, and performance, rather than a similar device. ISO conformity can support a safety check, but it does not prove the orthosis will fit you or work well in daily use.

Inspect the device under good light. Look for rough edges, loose stitching, cracked components, and hinges that sit unevenly beside the joint. Check that straps fasten securely without pinching, and ask how cleaning or wear may affect them. Request clear guidance on care, replacement parts, and signs that the device needs professional review. Have a qualified clinician assess fit and movement while you stand, bend, or walk as appropriate. A pressure mark can be easy to miss at first. Keep the instructions and conformity documents, and note any discomfort or changes in fit for follow-up.

Verify Regulatory Status, Clinical Guidance, and Return Options Before Buying

Before buying a joint stabilization device, check its regulatory status in your country. Search an official health authority’s database, and compare the listing with the exact device name and intended use. A seller’s phrase “medically approved” is not enough by itself. Read the package labeling, including warnings, sizing instructions, and limits on use. Details matter. If information is unclear, ask a pharmacist or qualified clinician to help verify it.

Clinical guidance should shape your choice, especially if you have ongoing pain, swelling, reduced sensation, or a recent injury. A clinician can assess whether a brace suits your needs and show you how snug it should feel. It should not cause numbness, skin color changes, or increasing discomfort. Fit can change. Ask how long to wear it and when to stop. Before paying, read the return policy carefully: confirm the return window, whether opened or tried-on devices qualify, and whether hygiene rules or restocking fees apply. Keep the receipt and packaging. Policies can be surprisingly restrictive, and I would not assume a trial is refundable unless the terms say so clearly.